
Bacon Curing Bag
Bacon Curing Bags are an EASY way to make artisan bacon at home without the fuss and mess of mixing the cure for the bacon. Not only is this easy, but you can determine how lean you want the bacon and other choices now at your disposal.
All you need is a bag with the premixed cure and 1.5 to 2 kg of pork belly. You just need to make sure that the skin is removed. Mix and cure for 10 days. Easy!
Order your Bacon Curing Bag HERE.

Bacon Curing Bag
- 1 Bacon Curing Bag
- 2 kg Pork Belly (Deskinned)
- Select a 1.5 to 2 kg pork belly. Cut to as square as feasible. Make sure the skin is removed. Rinse and pat dry.
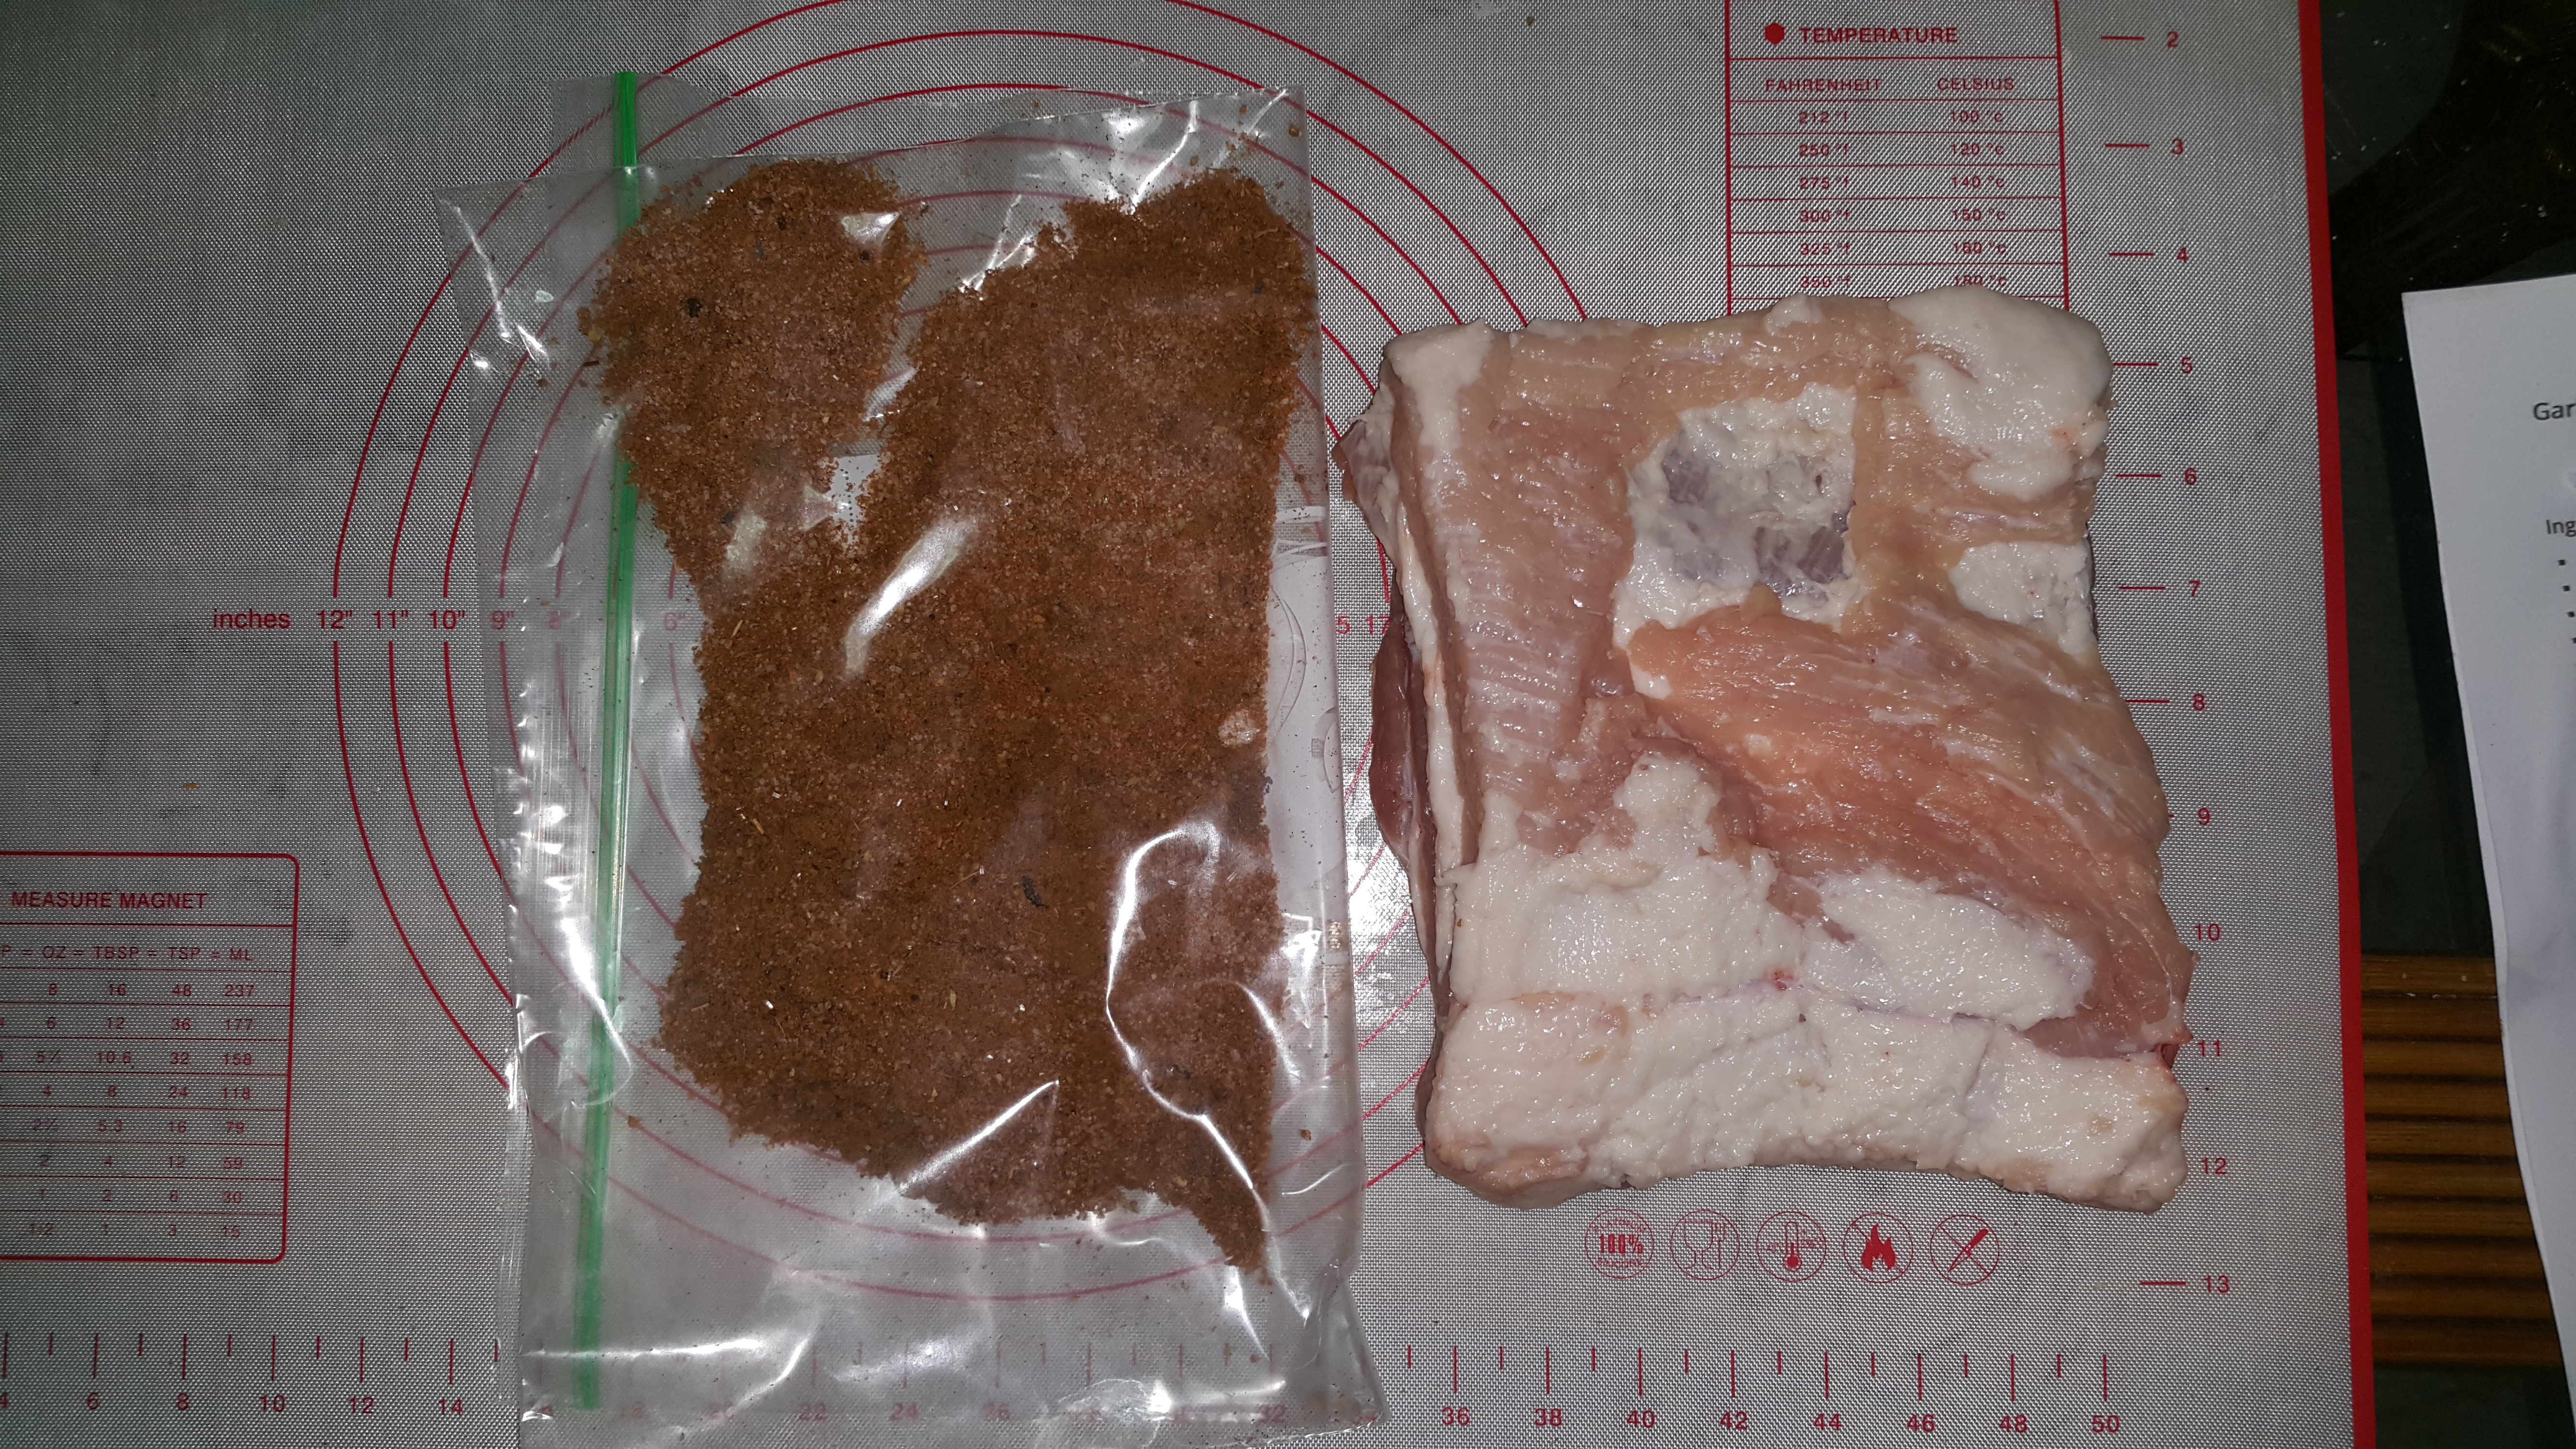
- Insert pork into bag, zip lock it, and shake until pork is completely coated with the spices.
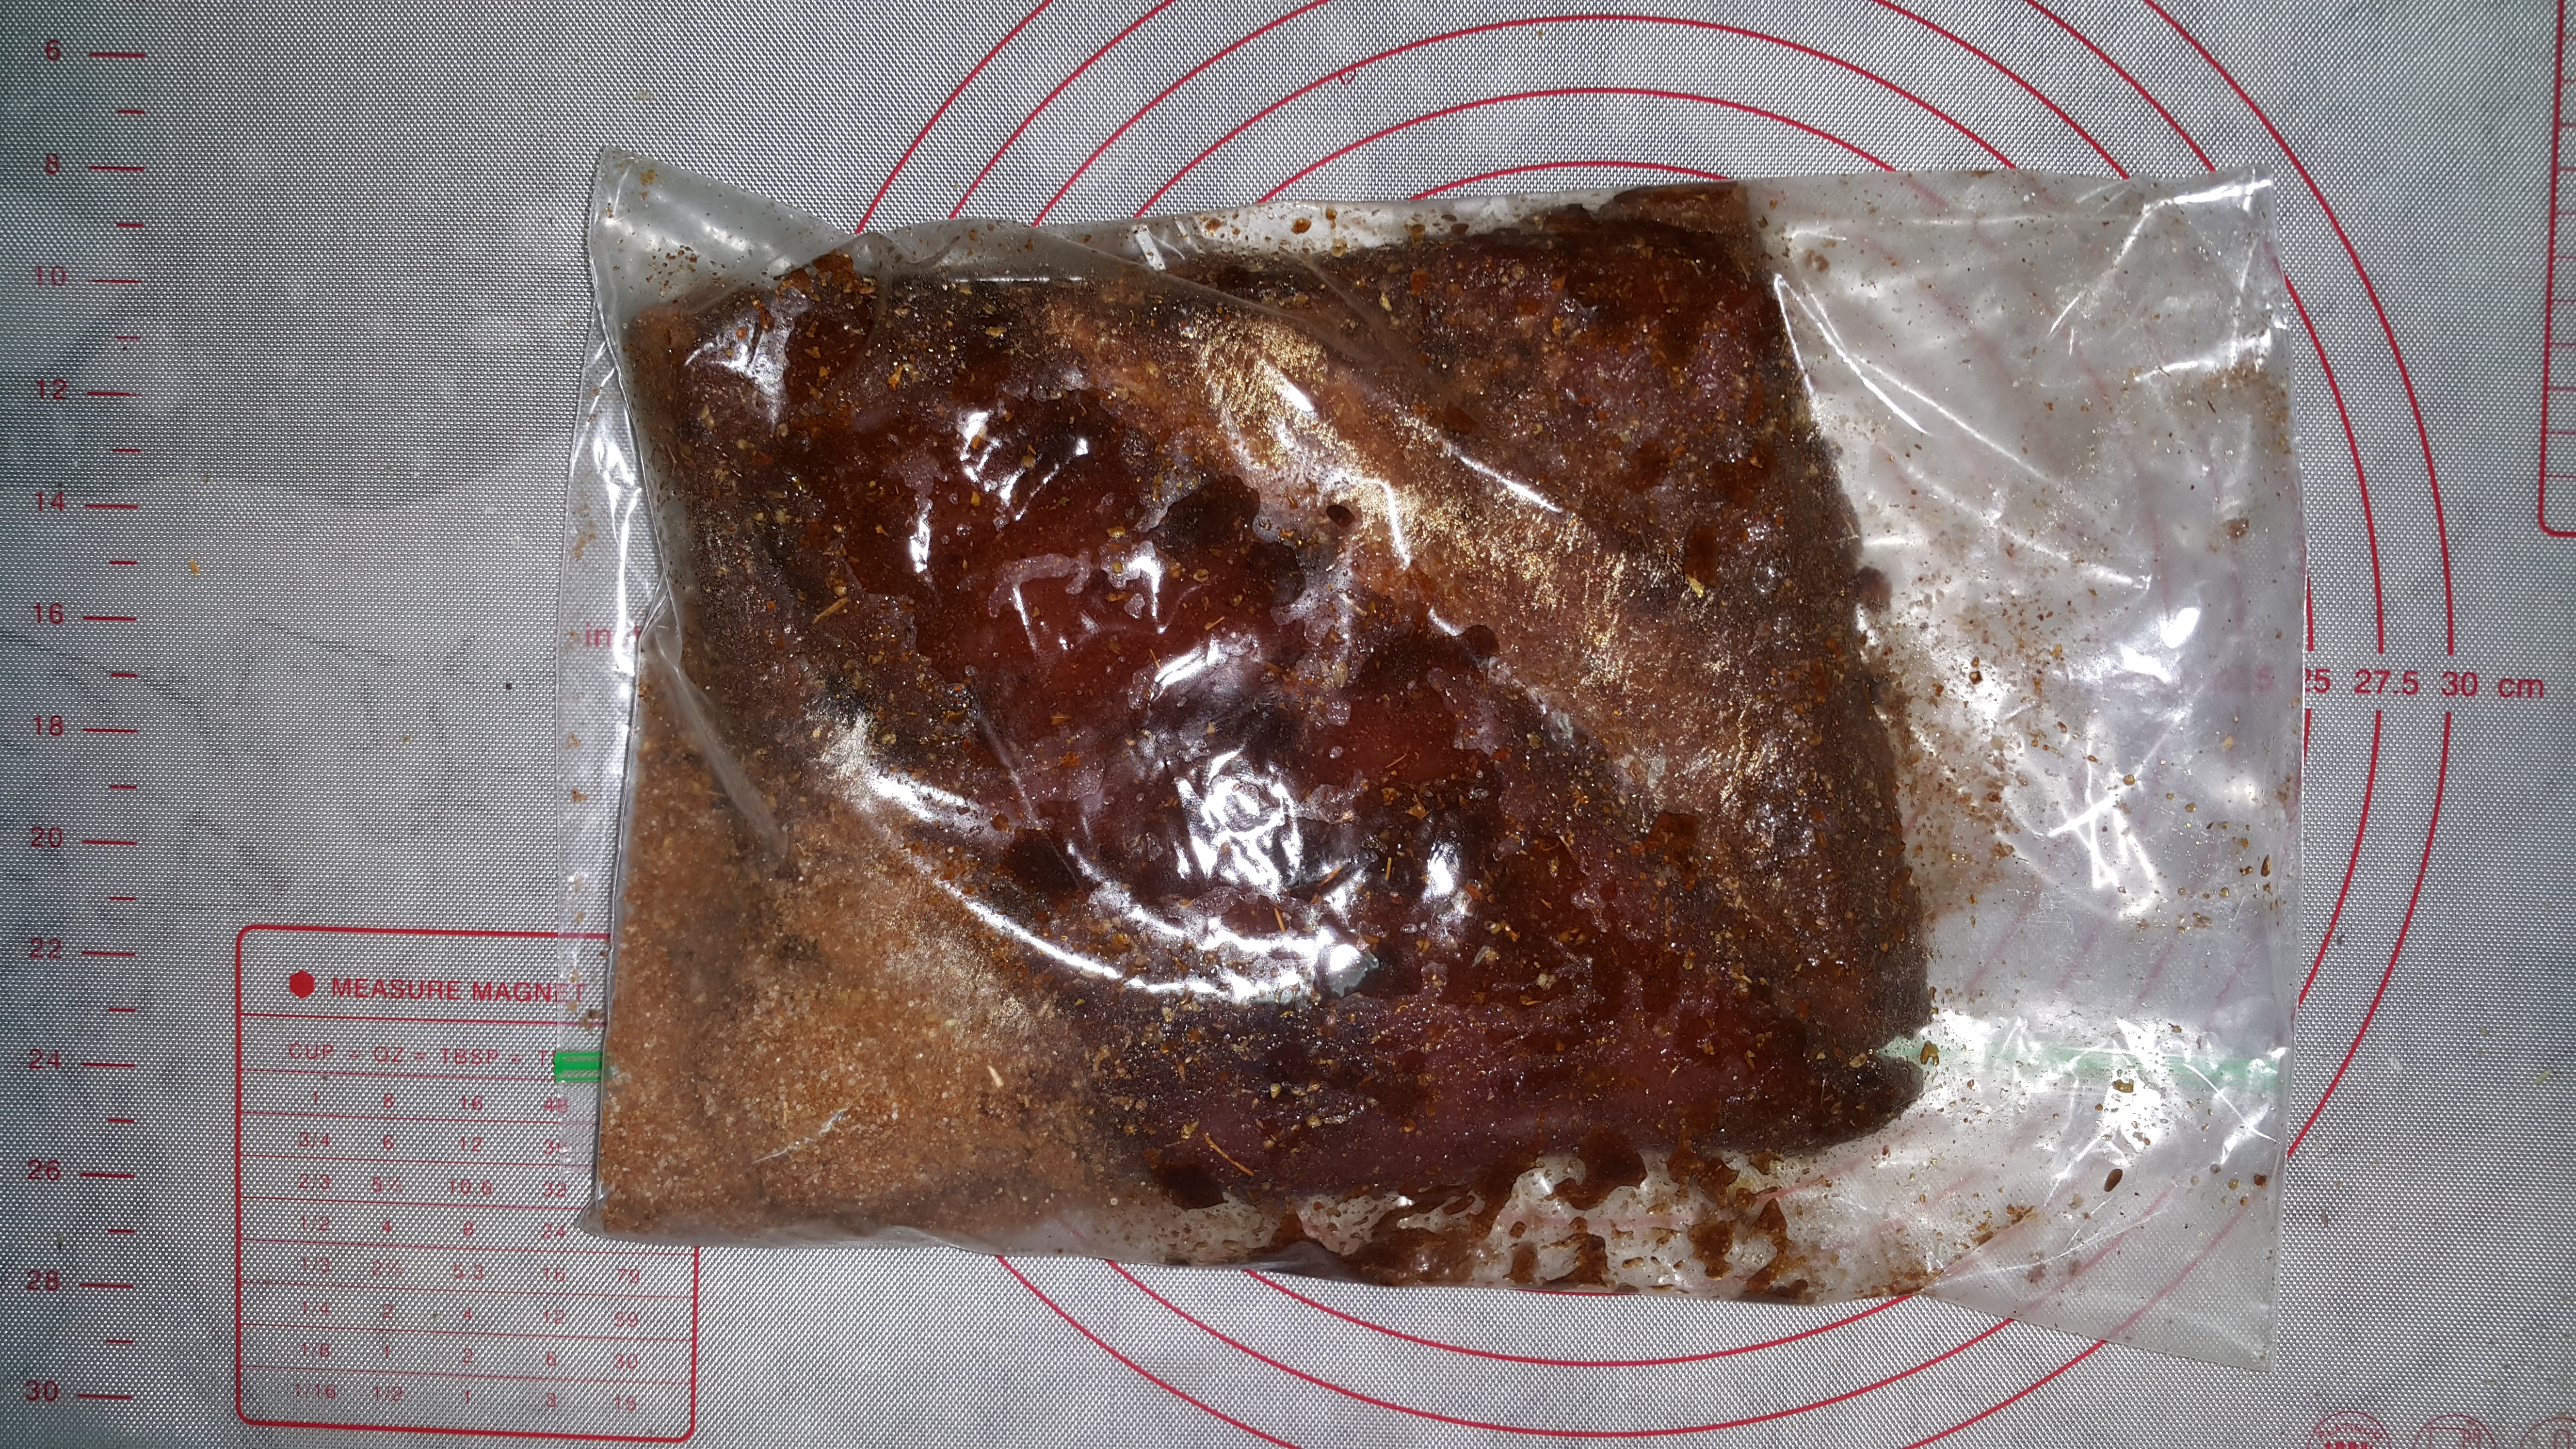
- Note date and store in the refrigerator for 10 days. Every day or so flip the bag to ensure pork is still completely coated. Liquid may form and that is fine.
- Take the cured pork out of the bag, rinse, and soak it in cool clear water for 4 hours to remove excess salt.
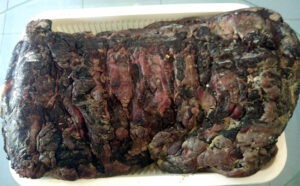
- OPTIONAL: For more flavor, you can smoke the bacon using hickory or other hardwood chips. Slow cook the pork until the internal temperature of the pork is 65C.
- Place in the refrigerator for a few hours to cool it down. This will make cutting a lot easier.
- You now have bacon to slice up and fry as normal. Enjoy!
CAUTION! Contains sodium nitrite which is toxic. Use mixture ONLY for curing.


Related posts
Aging meat is a practice that has been followed for centuries, with the aim of enhancing the flavor and tenderness of meat. It involves allowing... Continue reading
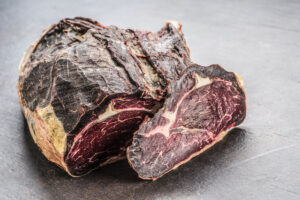
Dry Aging – What is it and how is it done? Dry aging is a process of storing meat in a controlled environment for... Continue reading

We showed you how to vacuum seal an Umai Dry Aging Bag using the immersion method. Here’s another way! Use a cheap (or free) air... Continue reading
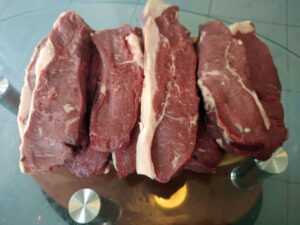
Why Dry Age Thai Beef? Thai Beef has a notorious reputation of being nearly inedible. You can find many tricks to make it more appealing... Continue reading

Everyone loves Salami but not everyone loves the taste and cost of Salami in Thailand. What to do? Make your own! You can now get... Continue reading
Add comment
You must be logged in to post a comment.