Dehydrated Milk Kefir Grains Reactivation
Here at Thai Artisan Foods and Supplies, we ship out our milk kefir grains dehydrated. While a few days is fine to mail active grains in milk, the heat in Southeast Asia and longer periods of shipping to some parts of Thailand and other countries such as Cambodia, Vietnam, Malaysia, Singapore, Myanmar and others, may cause issues. This issue is eliminated with dehydrated grains.
And how easy is it to re-activate grains? VERY easy. This day to day blog will walk through reactivating dehydrated milk kefir grains from our own actual package like the ones that we send out to you.
These are my results. Your results may be different depending on some factors such as the milk you use, how warm it is, even the utensils you use (do not use metal). The milk I use is Makro Aro. Good milk at a good price (190b/5 liter).
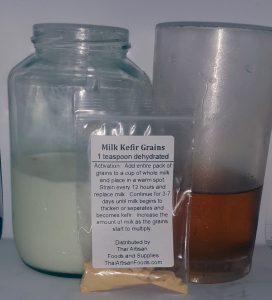 Day 0
Day 0
We start out with the package of dehydrated milk kefir grains and 1 cup of milk. I eye-balled the milk in a quart jar and added WAY too much milk. It should be about 1/3rd that amount – about 1 cup. All I did was waste milk. The first ferment is mostly to moisten up the grains and plump them up a bit. You just pour the whole pack of grains with powdered milk into the milk and stir it up a bit. I also have a half glass of cane sugar dissolved in water that I keep in the fridge. For good luck, I put in a dash, no more than a teaspoon, in with the milk.
Another debate is to whether to cover the top with cheese cloth and let it breath or seal it with the lid to make it air tight. I’ve done both ways and really don’t see a difference. So I just use the lid just because it’s a little bit easier. Plus when you get a vacuum pop when you open the lid, you know the grains are working.
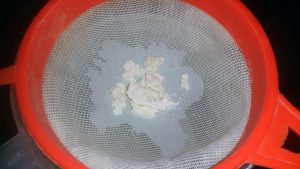 Day 0.5
This is the first look at the grains. 12 hours in the jar. It’s plumped up a bit. I didn’t rinse the grains but still weighed and it came out to 4 grams. The milk didn’t ferment and there were no separation. But the plumping up looks just fine. Putting it back in 1 cup of new milk and letting it ferment overnight. Tossed the old milk away.
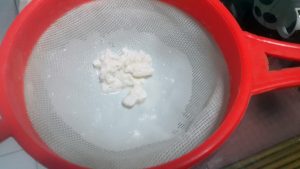 Day 1
Day 1
This morning, the milk has already started to thicken, but still not really kefir yet, after 12 hours. You can see baby grains starting to form after the strain. The unrinsed grains are weighing in at 6 grams. Some of this weight gain is likely from the kefir “slim” that is attached to unrinsed grains. Into the jar goes 1 cup of new milk. The old milk was mixed in with the dog’s food. Kefir keeps their coats nice and the shedding down. Plus they love it.
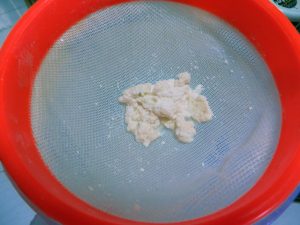 Day 1.5
This ferment produced a nice creamy kefir. The grains are ACTIVE. After straining, I rinsed the grains off for the photo and to weigh. The weight came out to 8 grams. Lots of cute little baby grains. There was a little bit of whey separation that started so this last round, I’ll double the new milk to 2 cups and let it ferment overnight for the final straining. I drank this kefir. Tasted great!
Day 2
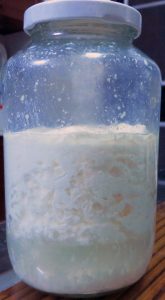
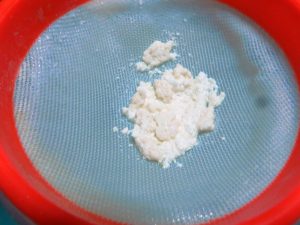
Even with doubling the milk to 2 cups, we have a lot of whey separation in 12 hours. The grains are very active. The kefir was creamy and delicious. Loads of baby grains all around and the older grains just get fatter and fatter. These rinsed grains weighed in at just under 11 grams.
Now you know how easy it is to reactivate dehydrated milk kefir grains to get started making your own milk kefir. And for those of you who are already fermenting kefir and want a break, go ahead and dehydrate your grains, bringing it back active is so easy!
If you want to know all about Milk Kefir, be sure to download our eBook.



Add comment
You must be logged in to post a comment.