10 Tips For Successful Home Cheese Making
Who loves cheese? Well I do, that is for sure, and I love making it and sharing it with family and friends.
Having produced cheese as a hobby now almost weekly for more than 3 years, I thought it would be a great time to share with you some tips that I have learnt.
Tip #1 – Cleanliness
Firstly and most importantly is cleanliness. The area that you intend on making your cheese, and your tools that you make your cheese with, must be spotlessly clean and sterilised. I cannot stress this enough. Some people use bleach to clean their surfaces and utensils, but I prefer vinegar and bicarbonate soda, and to boil all the utensils for 15 minutes. It doesn’t take long, and this is one of the first things I teach everyone in my cheese making classes.
I spray all surfaces with white vinegar including the utensils that I can’t boil to sterilise and let them dry naturally. This kills any wild mould spores that can inoculate your cheese unintentionally. I even spray my hands with vinegar and give them a good rub together every time I handle the cheese during the process to alleviate this problem. I have not had a problem with bad mould to date.
Tip #2 – Preparation
Have everything all prepared and laid out before you start. As I am waiting for the 15-20 minutes for the pot, stainless steel utensils and cheese cloths to sterilise, I get a clean tea towel and lay it on the kitchen bench next to the stove top, ready to place all the tools on. I select the recipe well in advance, and get out all the necessary ingredients and put them on the side ready to go. Cheese making requires un-chlorinated water for diluting some ingredients, so I have to pre-boil some rain water from my tank and let it cool to room temperature. You could use bottled water, but I do not due to environmental reasons. I pre mix the diluted calcium chloride with this water, and do the same with the rennet. Something I learnt in the Boy Scouts that I shall never forget and that is the Scouts motto, “Be Prepared”.
Tip #3 – Plan Your Time.
Although the process of cheese making is not particularly difficult, it can be time consuming. Ensure you take into account all factors involved in culturing the milk, renneting, stirring, milling, and pressing. If making a simple hard cheese, allow at least 4-5 hours to entirely finish the process. I make one cheese, Wensleydale, that take over 9 hours from start to the final pressing! Mind you the final product is well worth the effort.
Tip #4 – Start Simply
Start off with a simple cheese to build your confidence.
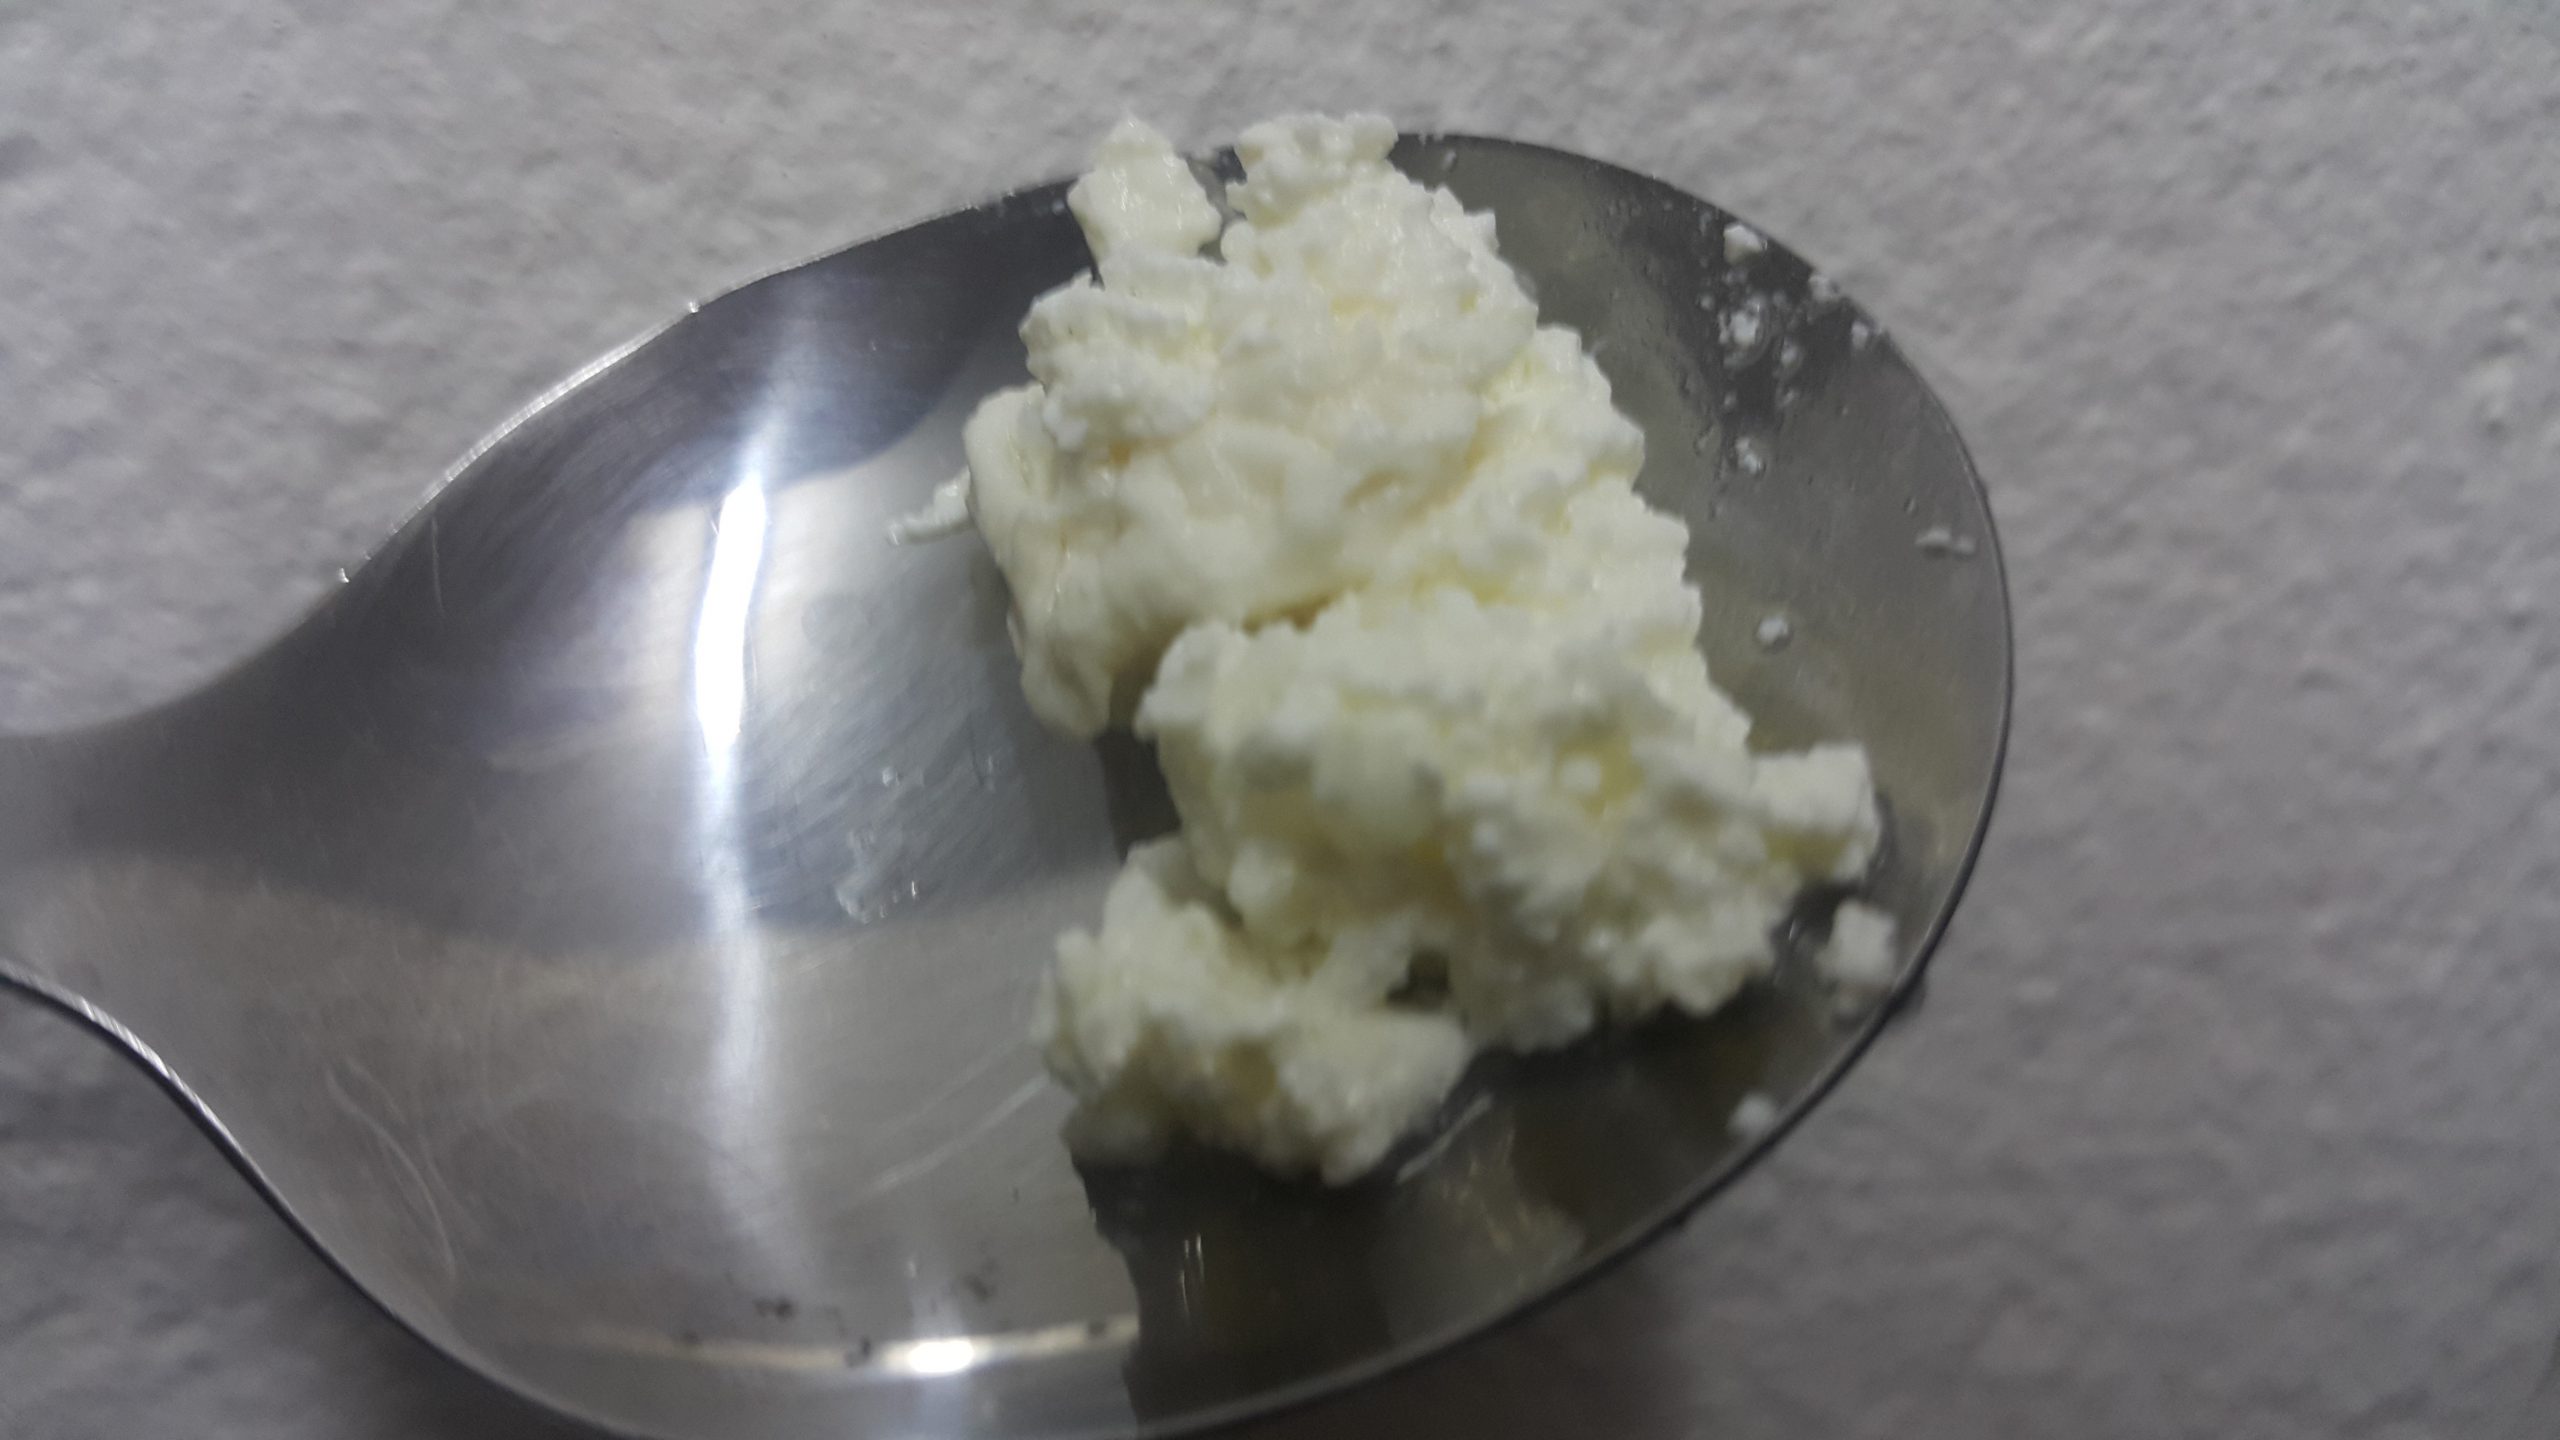
Try a soft cheese like yoghurt cheese (or Labneh) which is basically putting 1 kg (2 lbs) of natural yoghurt into a cheesecloth and draining for a few hours, then gather into a ball and suspend over a large pot overnight in the fridge. Simple, yet tasty and you can mix in different flavours, either savoury or sweet to liven it up as a dip.
Ricotta is another easy cheese to make. Take 4 litres of milk, bring to about 93C (200F) and add dissolved citric acid. You will see the milk separate into curds and whey. Ladle into cheesecloth lined colander to drain. When cool to touch, tie the corners of the cloth into a ball and wrap the ends around a large wooden spoon and drain over a large pot. After a few hours of draining you can add salt to taste and it will keep for about 5 days in the fridge in an airtight container. Great for lasagne and any other dish that requires a large amount of ricotta. As I said, simple successes give you the confidence to try something a little harder next time.
Tip #5 – Attend A Cheese Making Course
If you find that you enjoy making simple and basic cheeses, see if you can find a local cheese making course that is held nearby. The knowledge that you will learn will take you to the next level, and as I found, the interaction with other amateur cheese makers is priceless. Some of the courses can be expensive, but I found a relatively cheap one that was definitely worth the money. I have attended two of these courses (basic and mould) at our local community centre. Have a look around your local area. You might just get a surprise.
Tip #6 – Try Something Harder
When taking the next step and you have the urge to make an intermediate skill level cheese, like cheddar, feta, parmesan, edam or the like, try and make one like feta or Caerphilly that only take a short time to ripen so that you can taste your handy work quickly. By making these quick to ripen cheeses once a month, you will always have some type of cheese at hand at home and never be tempted to by that processed store bought rubbish that some supermarkets try and pass off as cheese!
Tip #7 – Don’t Be Afraid To Experiment
Once you get the basics right fairly consistently, don’t be afraid to experiment a little by adding other flavours to your cheeses during pressing or milling. I add a layer of home grown sage leaves into the middle of my Wensleydale and it imparts a fantastic flavour. I add home grown dried Birdseye chilli to my Monterey Jack to produce a variety called Pepper Jack. I have even added green peppercorns to my Farmhouse cheddar. It is all about the cheese and the final flavour.
Tip #8 – Have Patience.
A good cheese, like a good wine, needs to ripen for a specific period of time and get better with age. Try and resist temptation by eating your cheese earlier than recommended. All hard cheeses take time to mature to the right taste. You would be amazed by the difference a week or month between tastings. Depending on the cheese, if tasted early it will be very mild, but if left for longer the flavour gets stronger over time. I will give you an example. I made some Camembert, tried it at 3 weeks and it was fantastic. Left one for 4 weeks, and it was so strong it was overpowering but out of this world. Another example, my first Caerphilly cheese I sampled at 15 days, when it was supposed to ripen to 28 days. It was nice, but when we tried it at 28 days, it was fantastic. I don’t dare try my Parmesan until at least 12 months!
Tip #9 – Invest In Good Equipment
If you find that cheese making is the hobby for you, invest in a few good books, a decent press, and if you don’t have a cellar that maintains a constant temperature between 10-15 C, then you will need to invest in a wine fridge that has the same temperature range. After I decided that cheese making was going to be a long term hobby, then I took this step and invested in such a fridge and it has become my “cheese cave”. The summers can be pretty gruesome where I live, so it was a need more than a want if I was to continue to make cheese during this hot season. I picked it up relatively cheaply, and it has served me well so far. I can now make un-waxed cheeses as well as mould type cheeses (blue vein, brie, camembert) because I can keep the temperature constant.
Tip #10 – Share Your Success.
Don’t forget to have fun and share the final product. I usually make my cheese on a Friday night, with a few glasses of wine to relax after a tough week at the office. I find it very therapeutic. I also enjoy breaking out a small cheese platter when friends drop by whereby sharing all the different tastes. Most say I should sell it at a local farmers market, but I think it would spoil the fun of the hobby. Some of my friends have never heard of most of the cheese types that I make, because the main cheese consumed in Australia is cheddar or processed cheese slices. I love the variety that home make cheese making gives you.


Add comment
You must be logged in to post a comment.